
- Workshop
Introduction to the Internet of Things
A 90-minute lesson in which a small group connects real smart-home equipment, gets a lamp answering to a phone, and designs a scenario of their own.
Overview
The lesson moves from talk to hardware quickly. The first half covers what the Internet of Things actually is — addresses, sensors, protocols — with the equipment on the table and switched on while the terms are introduced. The second half is done by hand: teams install the app, add a smart plug to the network, control a lamp from a phone, and then build a rule around a sensor of their own. It works with a group that has never seen the equipment before, and it scales up for a group that has.
Who it is for
Designed for groups of five or six. Younger children watch the equipment being demonstrated and work under supervision; older ones set the devices up and write the scenarios themselves.
Learning outcomes
- Explain what the Internet of Things is and how it differs from the internet as they already know it.
- Use the words sensor, protocol and device address correctly, and give an example of each.
- Add a smart plug to an app and switch a real lamp from a phone.
- Set up a rule that fires on a time, on a schedule, or on a sensor reading.
- Describe a scenario of their own as a condition and an action, and estimate what it would cost to build.
Lesson plan
| Stage | Minutes |
|---|---|
| Organising the session Introductions, how long the lesson runs and where the break falls. | 3 |
| Goal setting The topic is announced and the group works out what the Internet of Things already does in their own homes. Ask what the internet is, how the Internet of Things differs from it, and which parts of a smart home they already live with. | 4 |
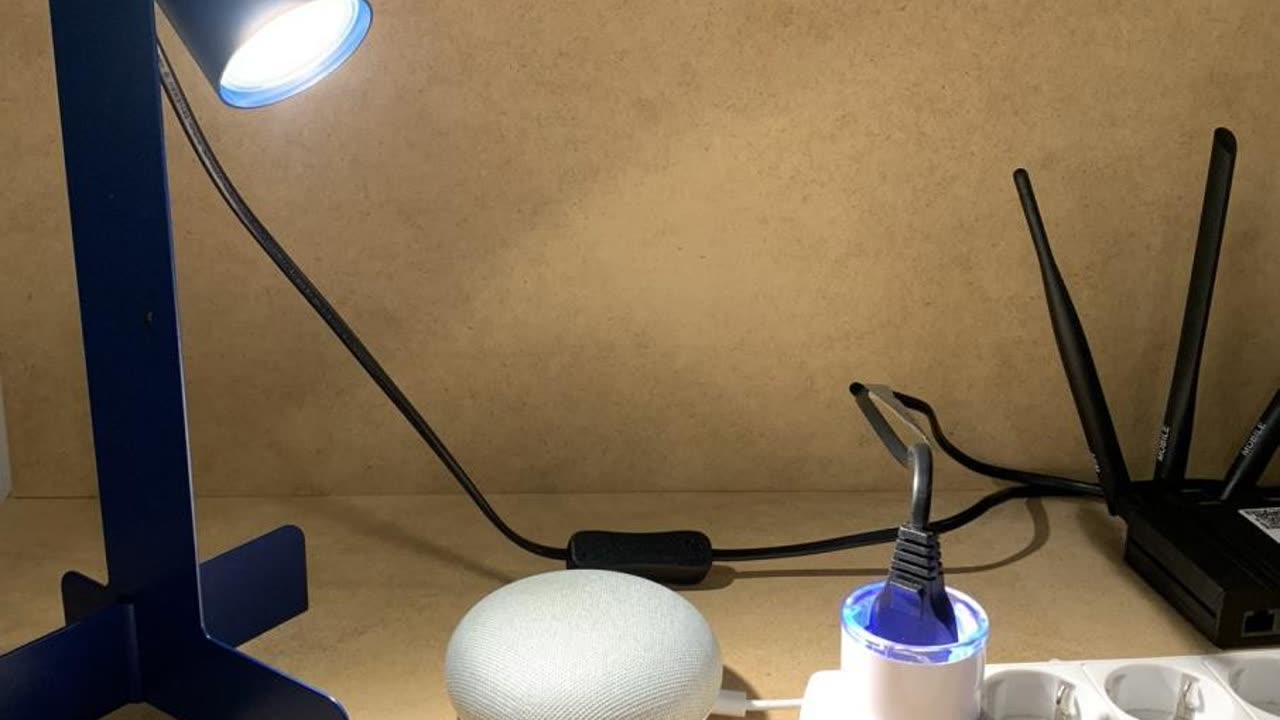
| New material and vocabulary How a particular device gets reached — addressing. What a sensor is, with examples. How data actually travels between devices, and what the rules for that are called — protocols. Discussion first, then the demonstration: a lamp switched on and off through the smart plug from a phone and from a smart speaker, and each sensor shown, named and triggered. | 15 |
| Setting up the app and the equipment Install Shelly Smart Control and register. Plug in the smart plug with nothing connected to it, add it to the app — by automatic discovery, or through Add device and Scan network — give it a name and a group, and switch a lamp with it. Then look at what else the app shows: power consumption, timers, schedules and the device log. | 23 |
| Break Five minutes away from the screens. | 5 |
| Independent work Each team picks a sensor — leak, motion, or temperature and humidity — connects it in the app and checks that it responds. Then they invent a smart-home scenario of their own: what should happen, under what condition, and which equipment it needs. Teams that have the hardware build it; the rest draw it and present it to the group. | 30 |
| Results and reflection What was built, what worked, what did not, and what is still unclear. Can any home be made smart? Close by inviting them to write their project up for the smart-home project competition. | 10 |
| Total | 90 |
Equipment
- Shelly Plug S Gen3 smart plug — switches a lamp or appliance over Wi-Fi and reports live power use. No hub required.
- Shelly Flood leak sensor — reacts to water and also reports temperature.
- Shelly BLU Motion motion sensor — Bluetooth, wide field of view, years on one battery.
- Shelly Wave H&T temperature and humidity sensor — Z-Wave.
- Optional: door and window contacts, buttons and programmable modules.
- One tablet or phone per team with Shelly Smart Control installed.
- A lamp to switch, and a smart speaker if you plan to run the voice-control bonus.
Before the lesson
- Equipment binds to the account that adds it first. Set the tablets up in advance on one shared account and stay with it — undoing the binding later means a request to the manufacturer.
- Lock each tablet to the single app, with TinyMDM or similar, so the group stays with the lesson.
- Participants who bring their own equipment can use their own account and app.
- Everything in the app is also reachable in a browser at control.shelly.cloud, which is useful on a projector.
- Run the whole setup yourself before the lesson. Wi-Fi that needs a login page is the usual thing that stops it.
Bonus task
Set up voice commands through a smart speaker, so the lamp obeys speech as well as the app.